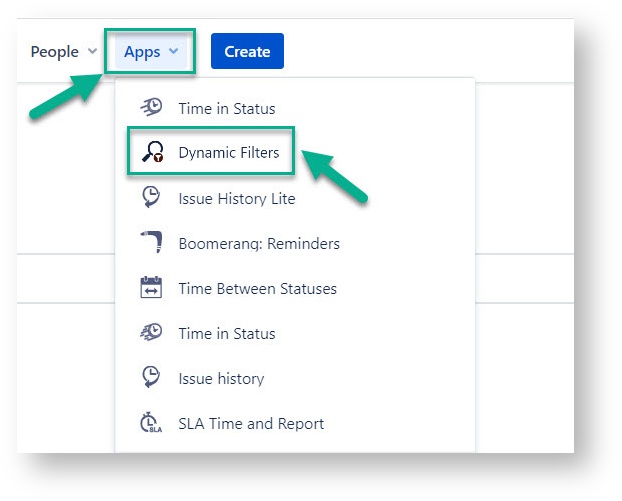
1. Go to the installed add-on
Find the installed Dynamic Filter add-on below the Jira settings menu and click on it to start using.
2. Create Smart Fields
Click on the “Smart Fields” button to open the builder. To create your first one, press on the Add Smart Field.
...
- Field - it can be any default or custom Jira issue field (issue type, project, assignee or estimate, etc.)
- Operator - such options are available: equals - not equal, in - not in, is - is not, was in - was not - was not in, changed, contains - does not contain, greater than - greater than equals, less than - less than equals.
- Value for request according to the Operator type selected before.
- Predicates - such as from, to, before, after, during, on, by.
After configuration, click on click Save Smart Fields.
In this menu, you can create any amount of Smart Fields.
...
2. Create a Dynamic Filter
2.1. Click on the "More"button at the main menu.
...
2.3. If you don’t want to lose created filters, click on a "Save as" button:
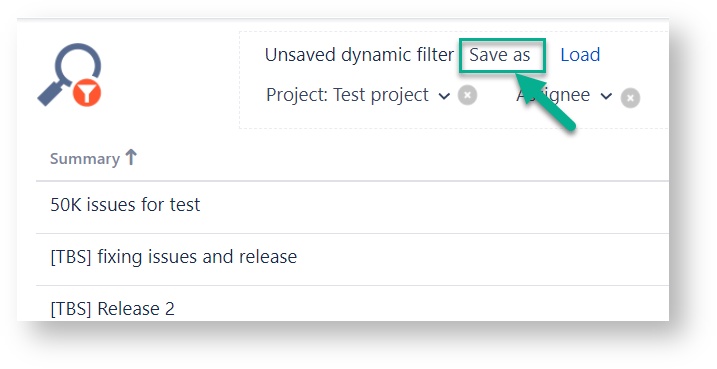
2.4. To load your saved Dynamic Filter, go to Load and select your saved profiles from the list.
...
You are able to change issues' Summary, Status, Priority, Reporter, and Assignee just by clicking on it.
6. Data Export
You can export the filtered issue list from the grid as XLSX or CSV files which you can analyze using such tools as Excel or Google Spreadsheets.
...
Pie Chart Gadget
Simple Counters Gadget
Issues in Dynamic Filter gadget
Two Dimensional Filter*coming soon
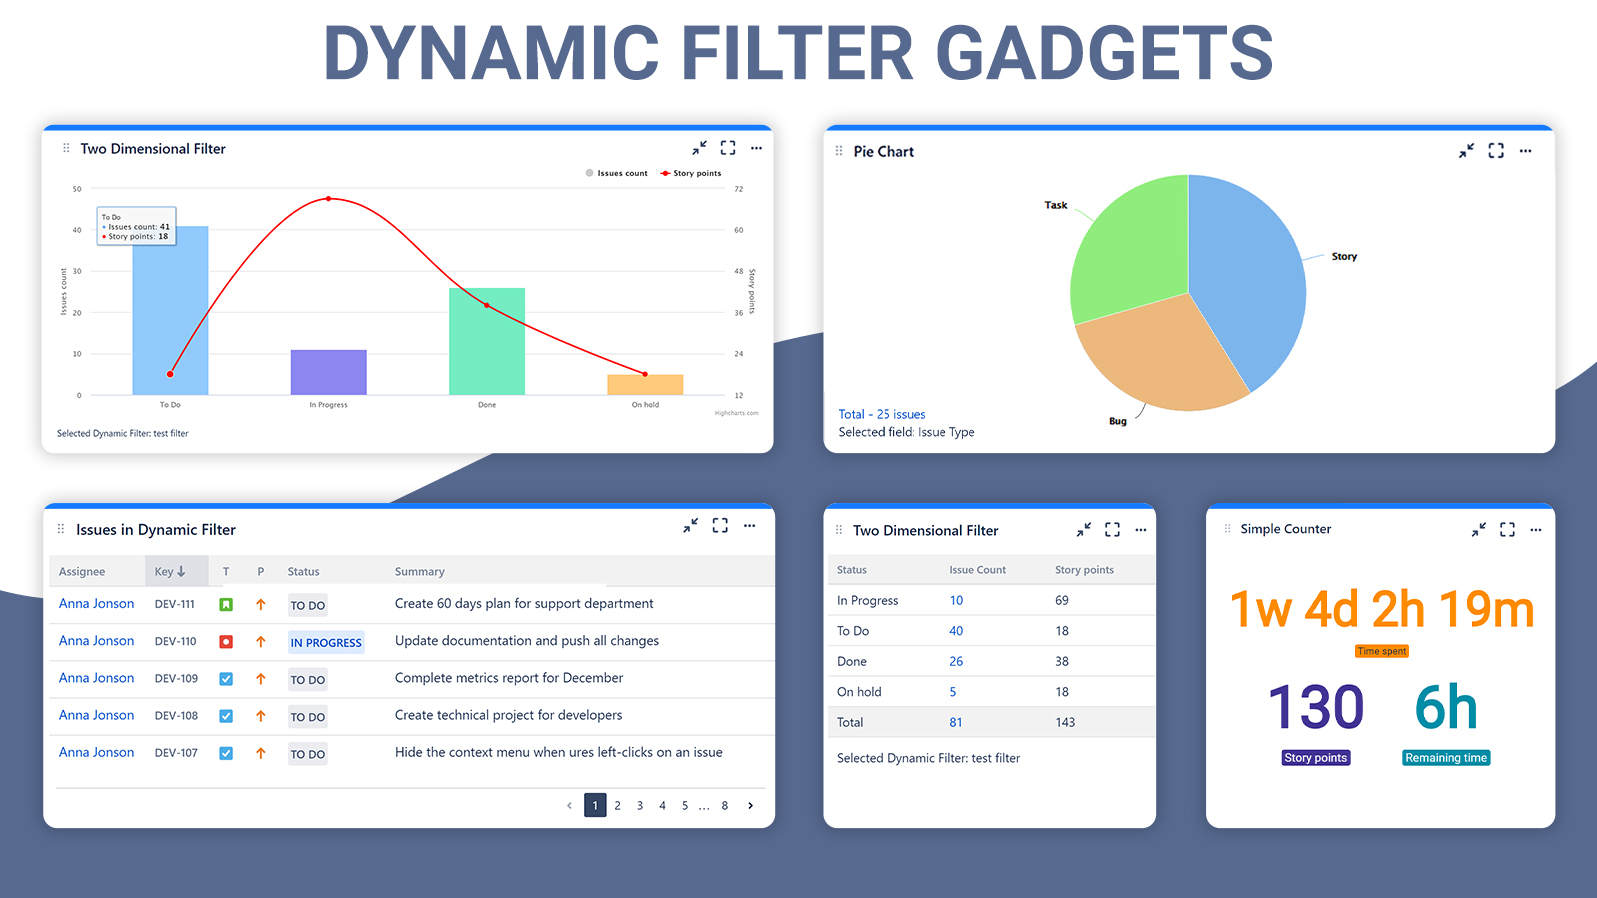
To set them you need:
- Click on Jira Dashboard.
.gif?version=1&modificationDate=1615661871389&cacheVersion=1&api=v2&width=450)
2. Select the type of gadget you want.
...
3. Then configure each one by selecting required options, such as:
- saved dynamic filters;
- issue fields;
- type of data representation representation.
View more about gadget settings in the Gadgets for Jira Dashboard by Dynamic Filter page.
...