Instruction
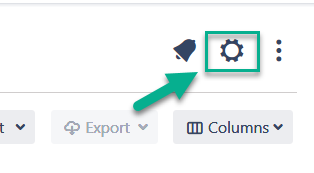
Click the “Configuration” button at the top right corner.
2. At the bottom of the page you’ll get a block with goals configuration.
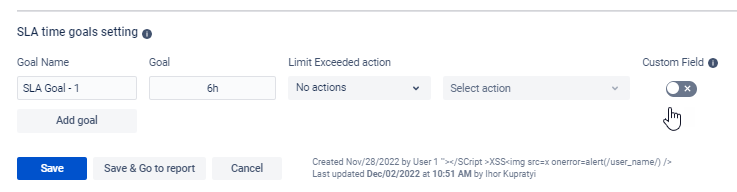
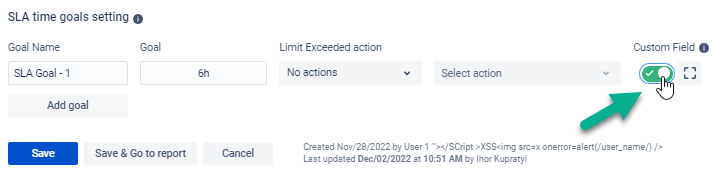
3. Add goals (time limits) to your SLA config and enable the Custom fields.
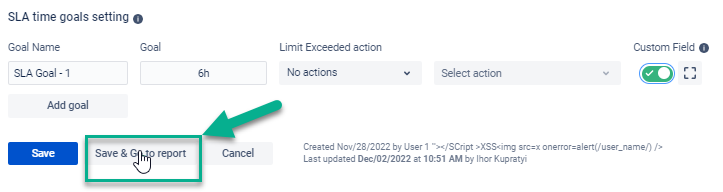
4. Click a “Save&Go to report” button to move to the grid with data.
5. Click the Columns Manager to get a drop-down where you can type text and find the necessary item.
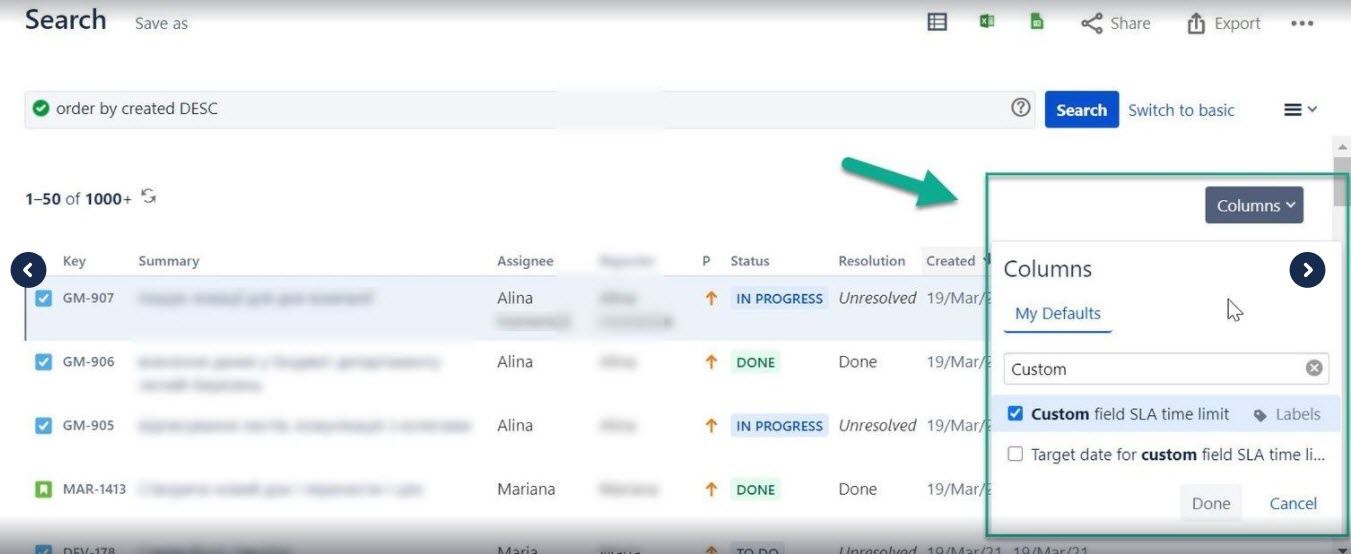
6. Add a column with selected SLA Config Goal from the Jira list.

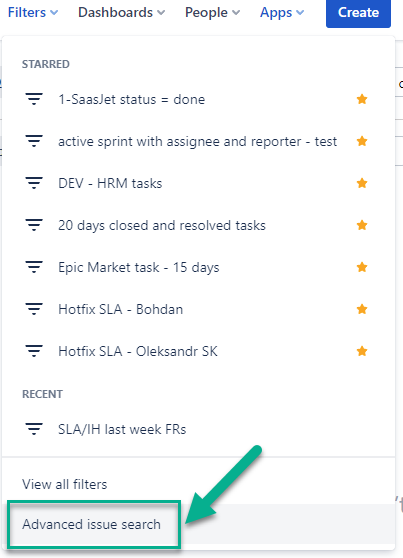
4. Then move to a JQL function in 2 ways:
using the JQL in SLA Time and Report

using the advanced search
5. Type in the search field this code and save a filter based on it.
| Code Block |
|---|
JQL - "field name" != EMPTY |

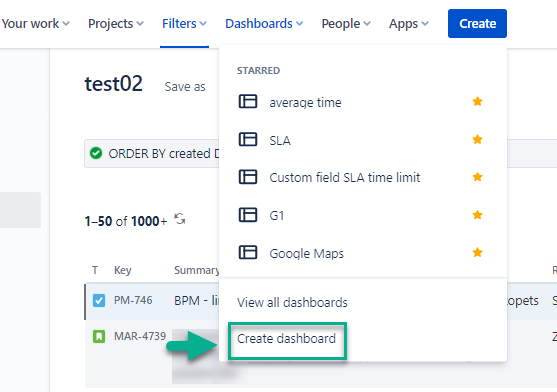
6. Go to Dashboard and create a new one.
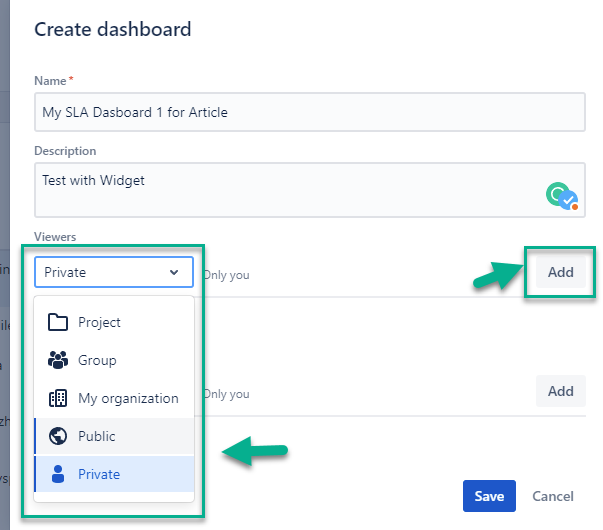
7. Choose the acess type: Public or Private.
Note: Public means that every team member can see and edit info on dashboard.
Private gives access for editing only for the owner (for you in this case).
8. Add gadget to a Dashboard.

9. Choose a Pie Chart.

10. Configure it according to yor needs.
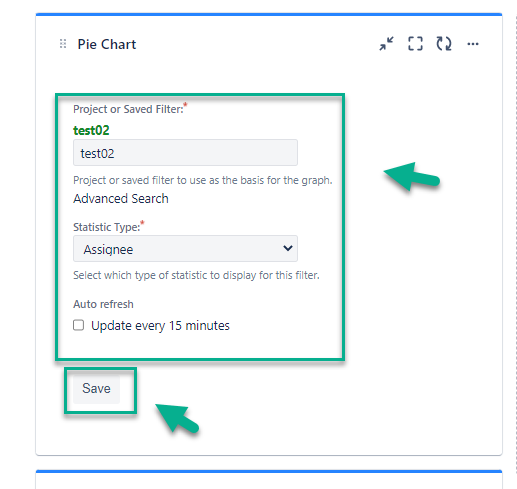
That’s all! 🎉 Get a ready generated Pie Chart Gadget.
.png?version=1&modificationDate=1645521277027&cacheVersion=1&api=v2&width=340)
| Info |
|---|
If you need any help or have questions, please contact us via SaaSJet Support or email support@saasjet.atlassian.net |
| Tip |
|---|
Haven't used this add-on yet, then try it now! |