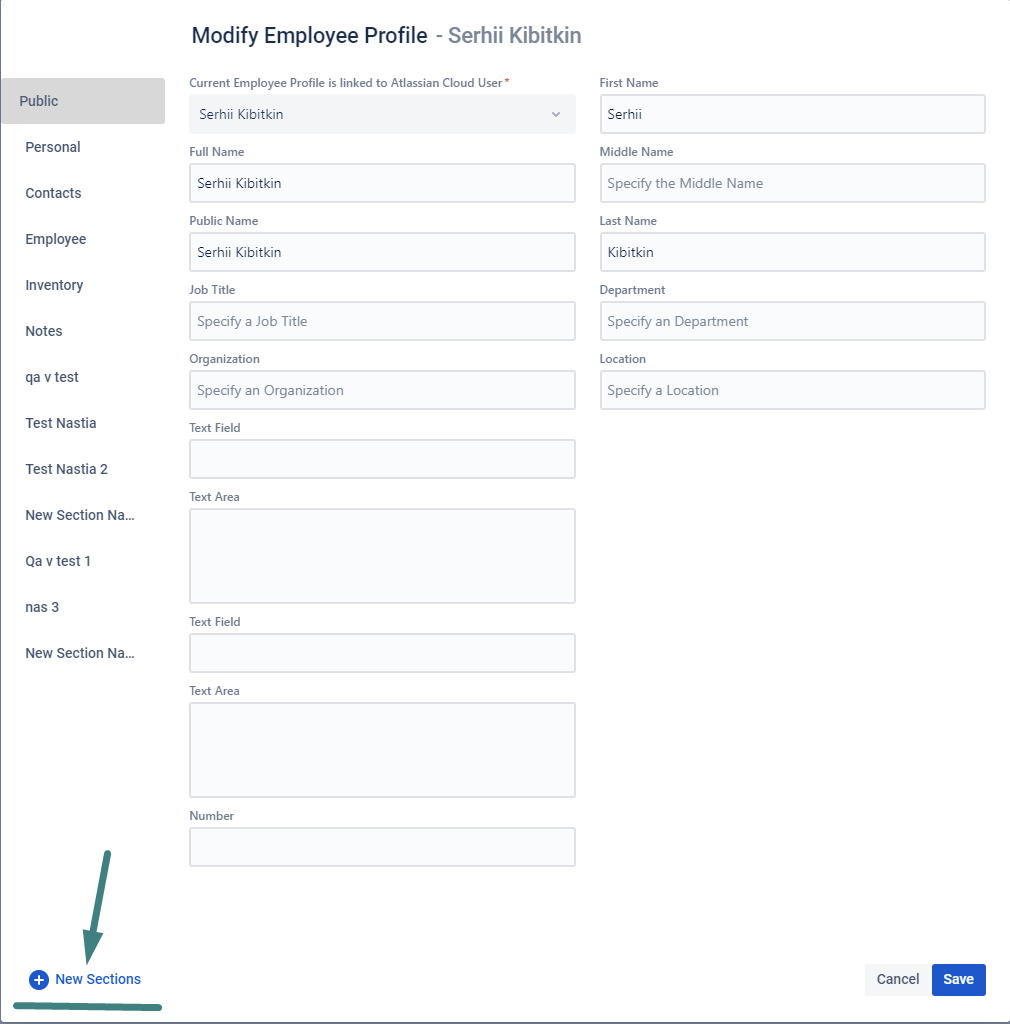
Create an unlimited amount of New Sections and Field lists for each section.
| Widget Connector | ||||||||||
|---|---|---|---|---|---|---|---|---|---|---|
|
Where to begin?
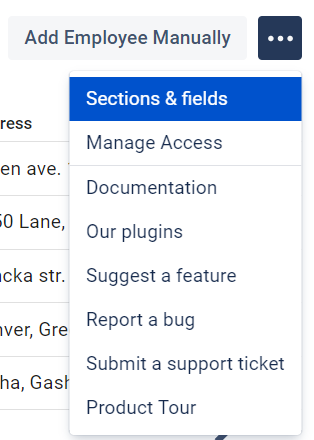
Go to the New Sections and Fields section. To do this, open the Technical menu in the main window - “New section -“ Sections ”:
In the window for creating the new Custom Sections and Fields, you have 3 areas:
There is a list of the created Sections on the left side.
The center section is where the Fields for the selected Section are created. New Fields can be transferred there.
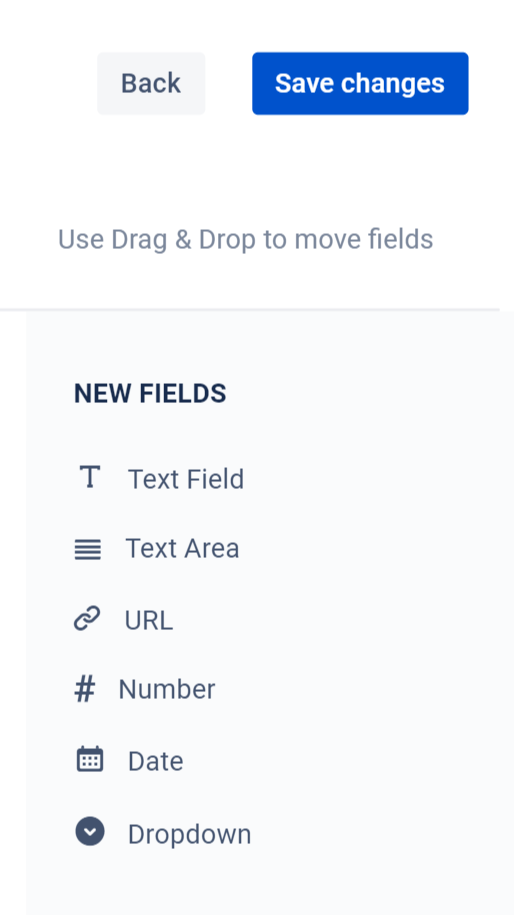
There is a set of ready-made Fields on the right side that you can install in the newly created Section.
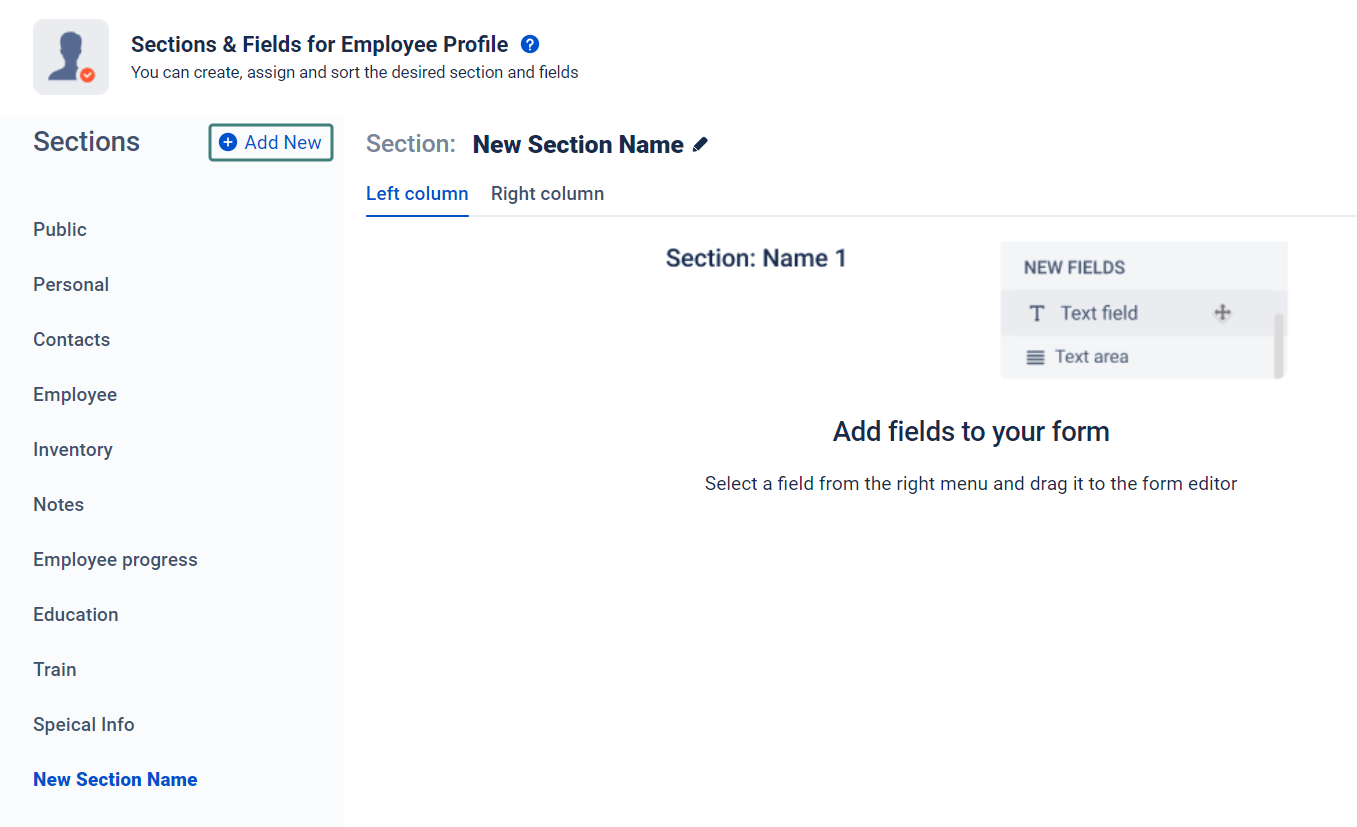
2. The left side of the window is a list of the previously created Sections. At the top of the list, you can create a new one. To do this, click on the +Add new:

The name of the New Section will be created automatically according to the formula - New Section Name - [section number]:
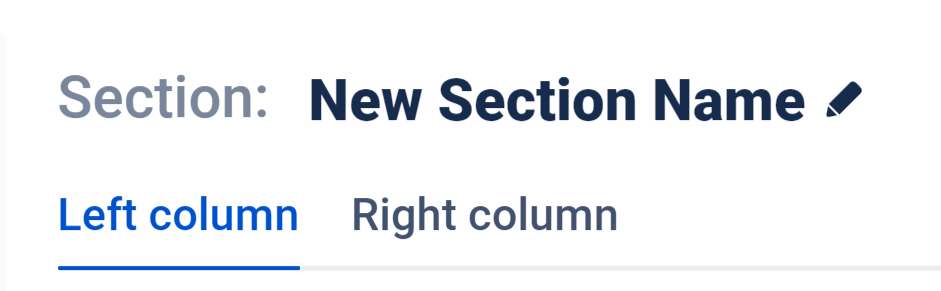
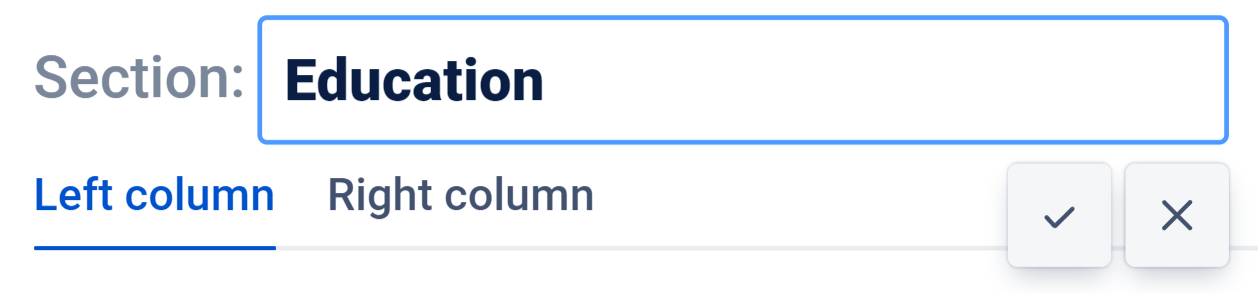
To change the name of a Section, click on the Section heading; enter your heading and save:
3. After saving a name for a New Section, the add-on creates an empty workspace to add New Fields automatically.
For example:
If you have created a Section - Education, you might want to add fields:
High school;
College;
University;
Graduation year.
To do this, select the desired format for the New Field and drag it to the work area of the New Education Section:
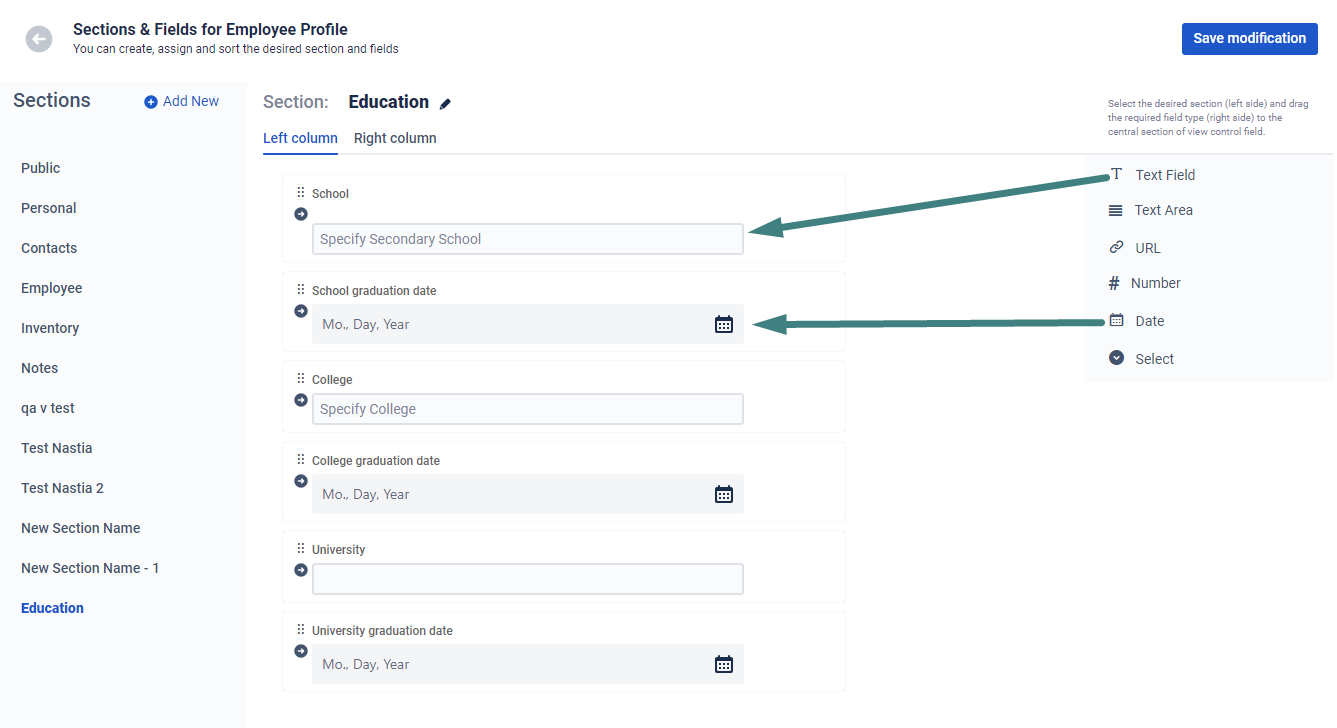
4. The following fields are available for adding to Sections:
Text field - for short information, such as title, headings, brief information.
Text area - for large and extensive information. Usually a detailed description, where there are many lines.
URL is a special field for storing links and quickly going to the Web browser by double-clicking.
Number is a numeric value.
Date - date input field used to store dates in the format - Month /Day /Year.
Select - a field for selecting one option from the list. For example, marital status: Married, Single, Widowed, or other option.
Once you have added a field to a Section, you can customize the field parameters. To do this, select the option "Settings" → “Cogwheel”. The selected field will be highlighted in blue:

Here you can:
change the field title that will be displayed in the Label Section;
specify the text of the message that will be shown as a hint and / or a short description;
define the text to be displayed on the field.
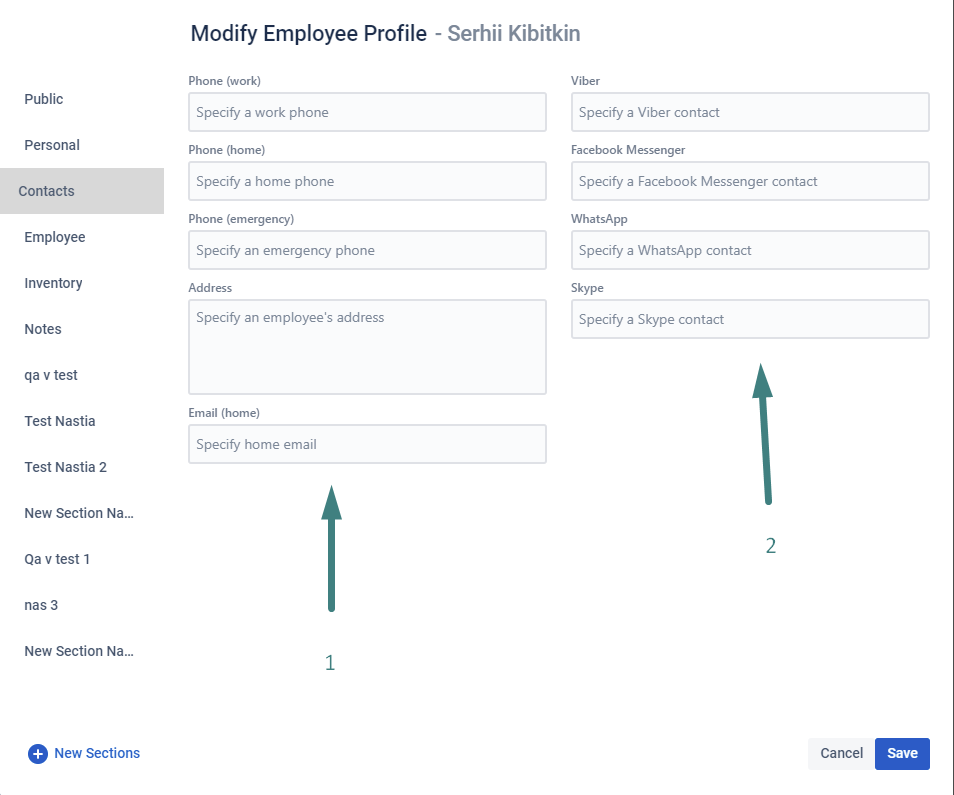
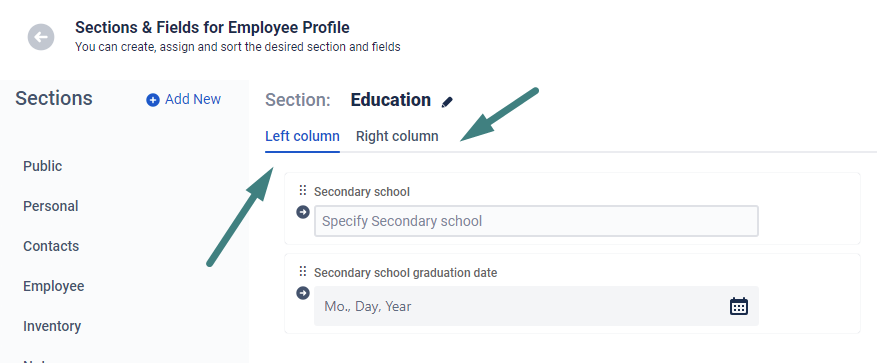
4. Employee Card editing allows you to create 2 sets of fields which consists of two columns. The Left (1) and Right (2) columns are used to store data fields:
After you have finished creating a new Section and fields, do not forget to save the changes.
Just click the Save button.
If you haven’t used this add-on yet, then try it now!>>>