You can set due dates on tasks in your workflows to make sure that everything in your working process is completed due to schedule and nothing falls through the cracks.
Here are two options for setting due dates on tasks:
Dynamic date - automatically set the due time based on the number of days after the trigger is selected.
Exact date - a specific due date selected.
To set a due date for a task on an existing process, first of all, open the template and select the step you want to add a due date to. Next, click the “Due Date” button in the top center of your screen as it is shown below.

.png?version=1&modificationDate=1652972674314&cacheVersion=1&api=v2)
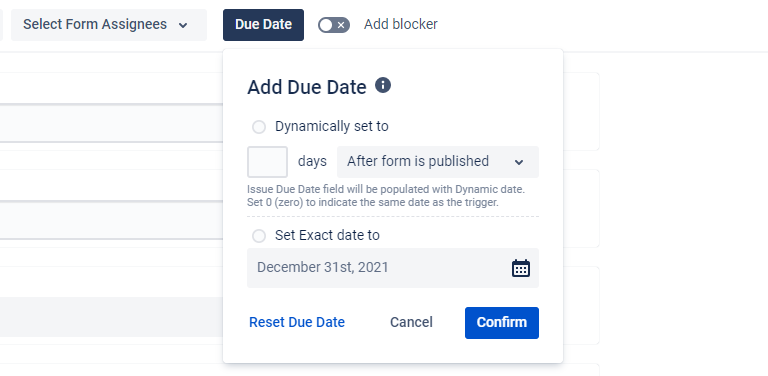
Select the type of Due Date you want to add.
.png?version=1&modificationDate=1652972687967&cacheVersion=1&api=v2)
Dynamical Due Date
Dynamic due dates can be attached to:
published form - an issue with the form created;
submitting the previous step - a form from the previous step is submitted (above, existing in the list of steps);
process start date;
which helps to streamline your process or task deadlines.
Enter the number of days, select the desired trigger and confirm the setting.
| Info |
|---|
If the task should be created on the current day, enter 0 in the days field. |

.png?version=1&modificationDate=1652972706402&cacheVersion=1&api=v2)
| Info |
|---|
Days field can contain a maximum of 3 digits. |
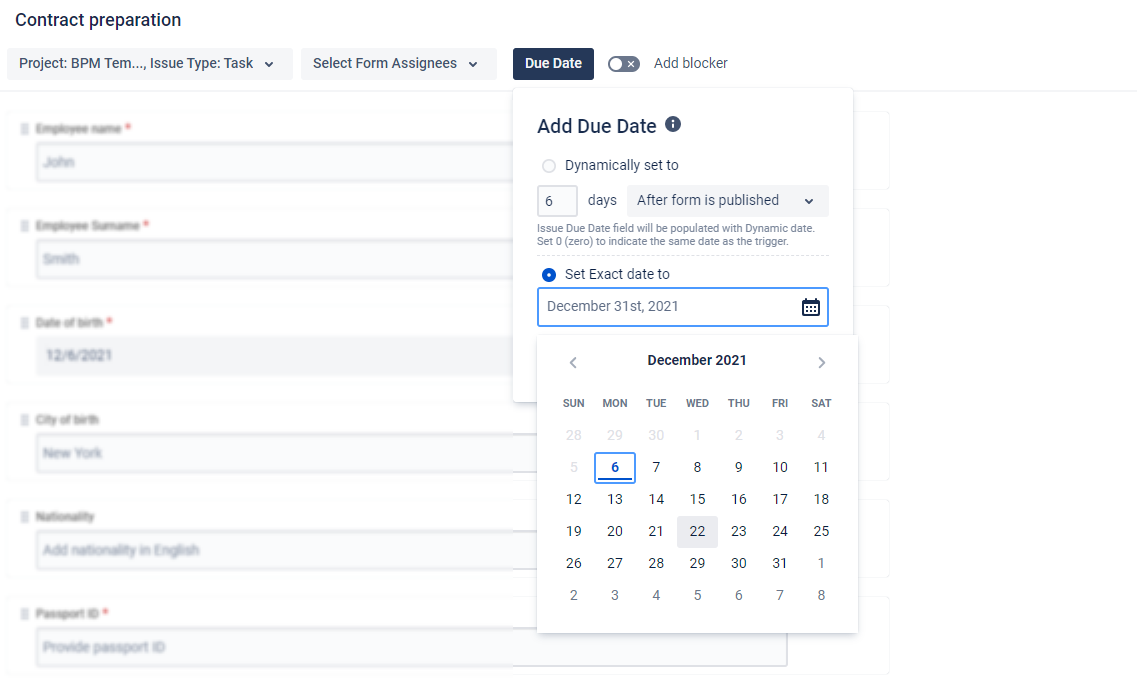
Set the Exact date to
Use the calendar to select the due date, then click a “Confirm” button to finish.
.png?version=1&modificationDate=1652972724501&cacheVersion=1&api=v2)
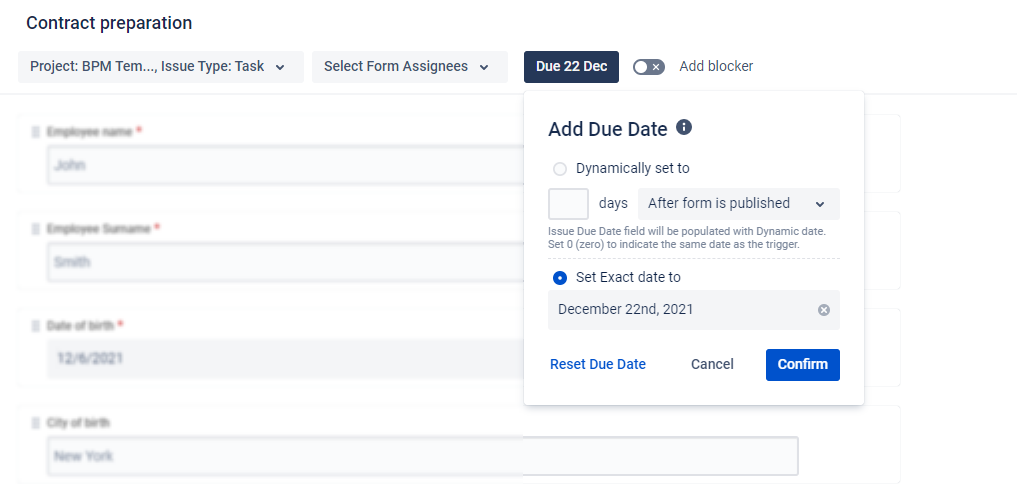
Reset Due Date
If you need to delete the Due Date settings in the step, press Reset Due Date and Confirm changes.
.png?version=1&modificationDate=1652972743460&cacheVersion=1&api=v2)
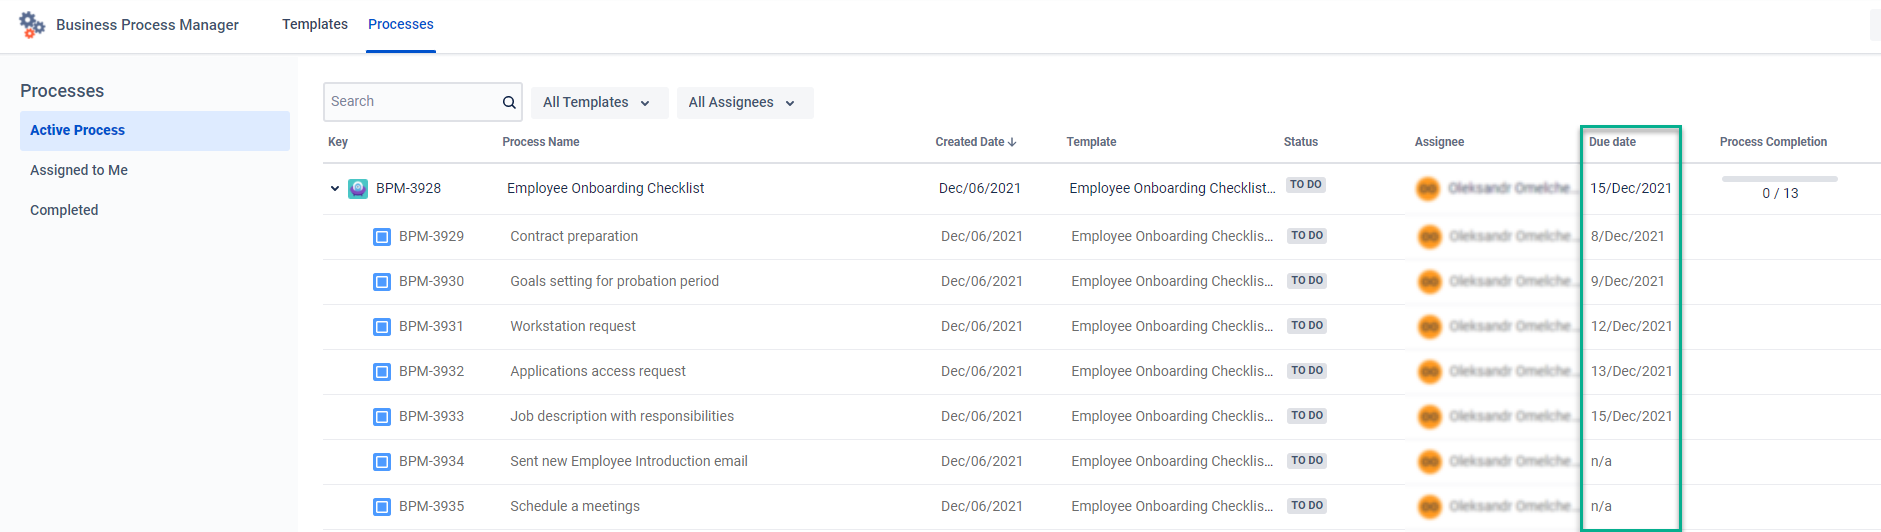
Due date monitoring
In the Process tab, you’ll see the due date for all issues.
.png?version=1&modificationDate=1652972756395&cacheVersion=1&api=v2)
| Info |
|---|
Do you have any questions? Just email us to get an answer support@saasjet.com. |
Get a free trial Business Process Manager | Atlassian Marketplace |