You can arrange the report the way you need with the settings below.
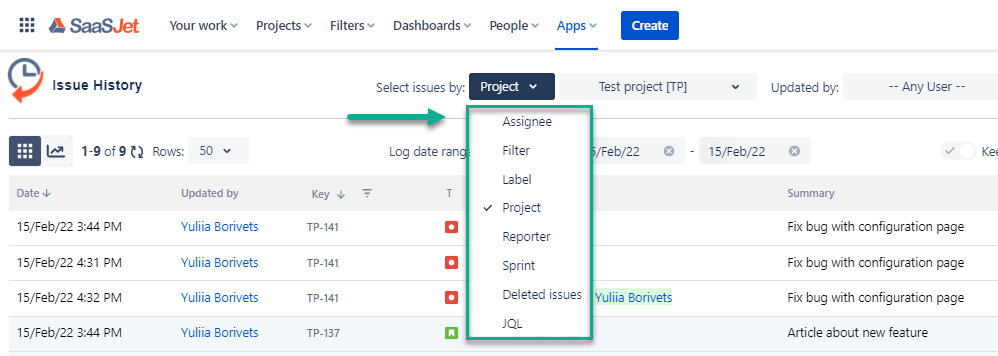
1. Filter Issues
Select one of the following options to get the list of issues for:
Assignee
Filter
Label
Project
Reporter
Sprint
Also, you can filter issues by a person, who has made updates.
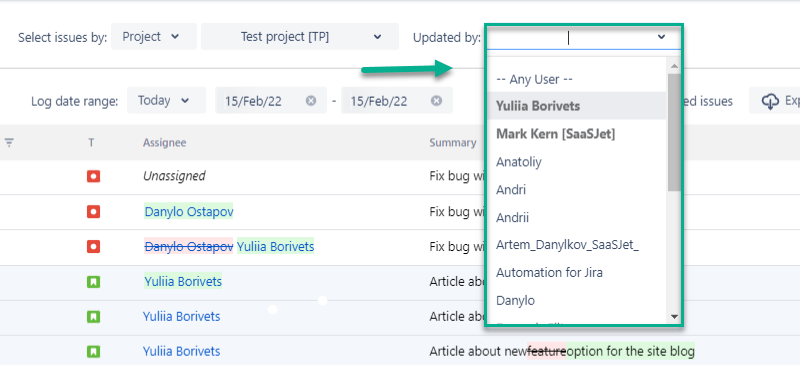
To sort the changelog, click on a column header.
2. Choose the Date Range
Use the functionality of the Date range to customize report timeframes.
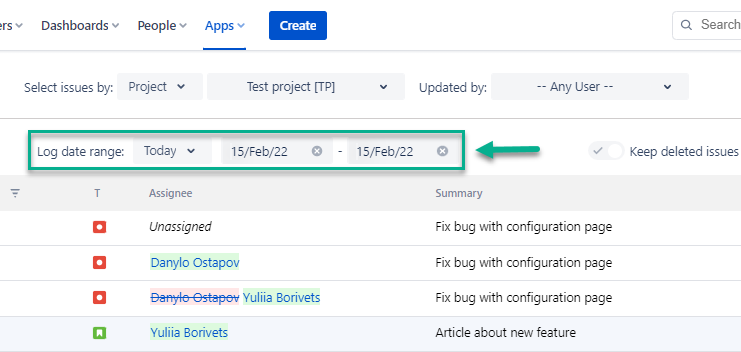
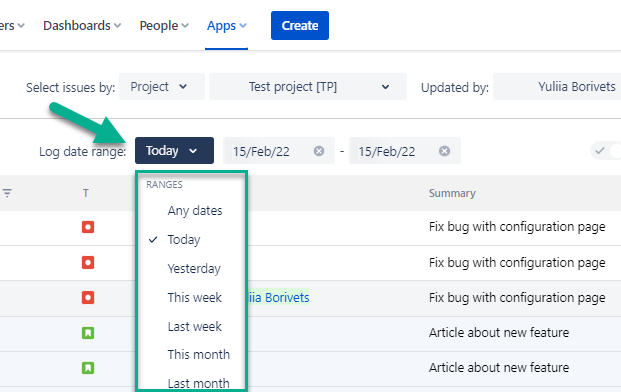
You can select the time period you want to get the report based on:
It can be a given period (today, yesterday, last week, this month, etc.) or you can select the custom time duration From date - To date.

3. Column Manager
You can add custom and standard fields to the grid using the ‘Columns’ menu to manipulate output data.
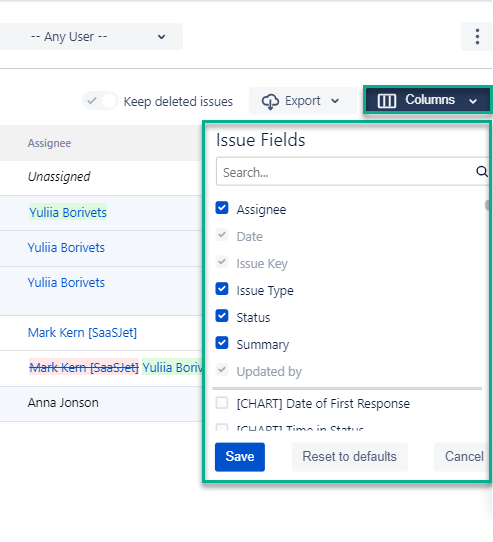

Date, Issue Key, and Updated by fields are chosen by default. The others (e.g., Status, Assignee, Description, etc.) you can add according to your needs.
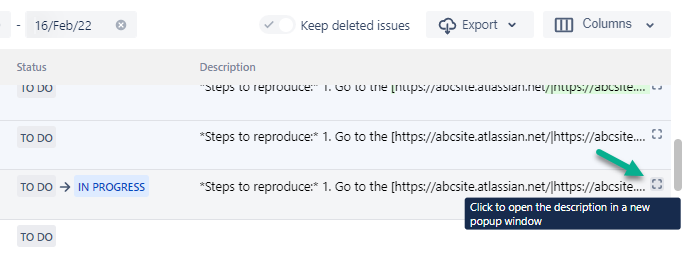
Description field: If the text in description field is longer that one line, click to open it in a new popup window:
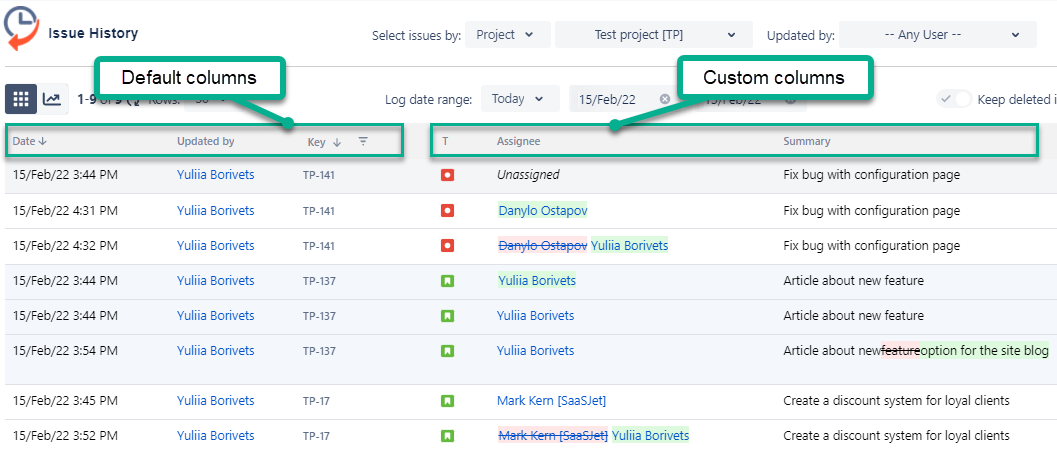
Issue history report
After the previous settings, you will receive a report with the changes that have been made in the issues you need to see.
The main report grid displays the data according to the default and custom columns you selected before in the column manager.
Follow the use cases if you’d like to select just one or several issues.
Haven't used this add-on yet, then you’re welcome to try It ⬇
https://marketplace.atlassian.com/apps/1220385/issue-history?hosting=cloud&tab=overview&utm_source=Confluence&utm_medium=refferal&utm_campaign=Documentation_Report-generation-with-Issue-History