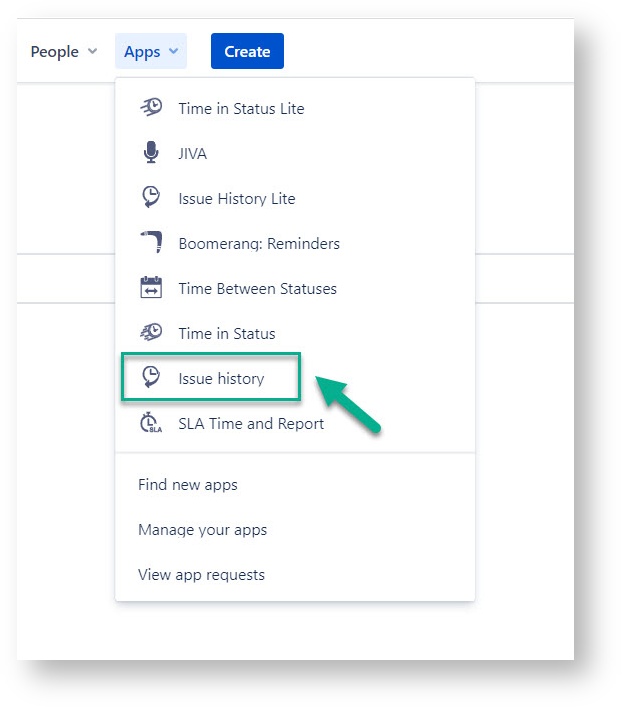
Find installed Issue History add-on below the Jira settings menu and click on it to open the add-on.
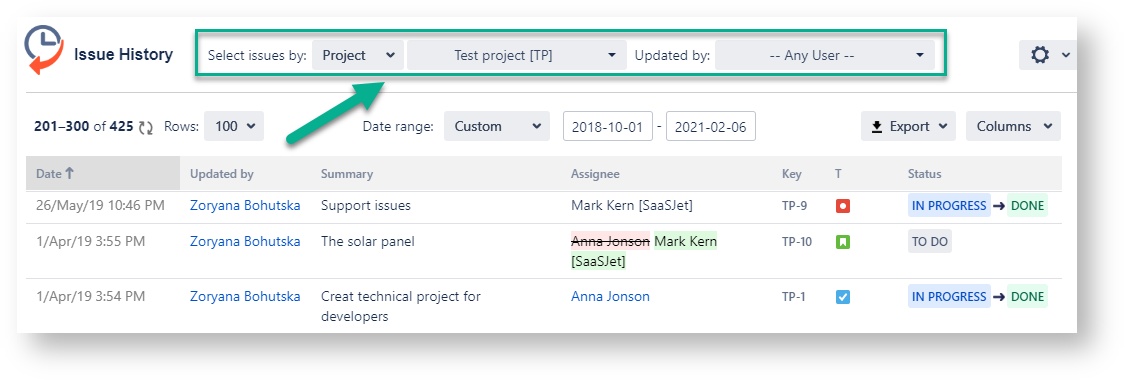
1. Select issues
For generating the reports, you can filter the data by: Assignee, Filter, Label, Project, Reporter or Sprint.
Also, you can filter issues by a person, who made updates.
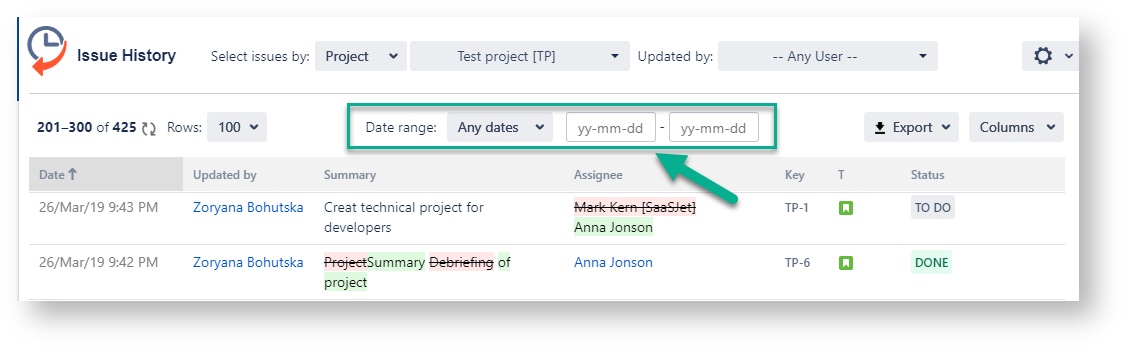
2. Date Ranges
Use the functionality of Date ranges to customize report timeframes.
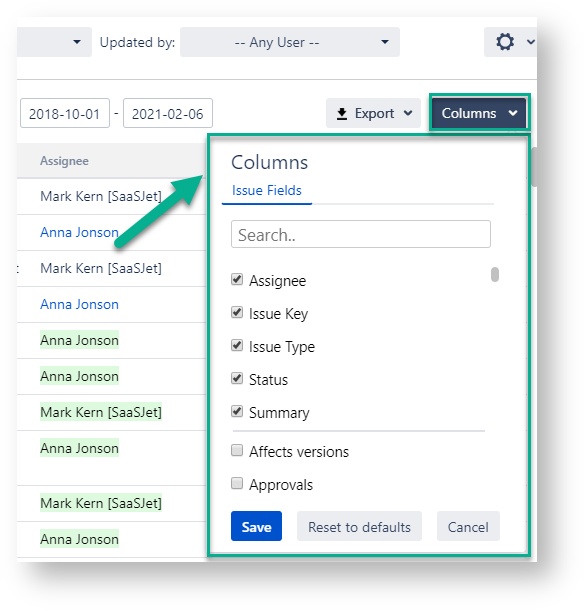
3. Column Manager
You can add custom and standard fields to the grid using ‘Columns’ menu to play with output data.
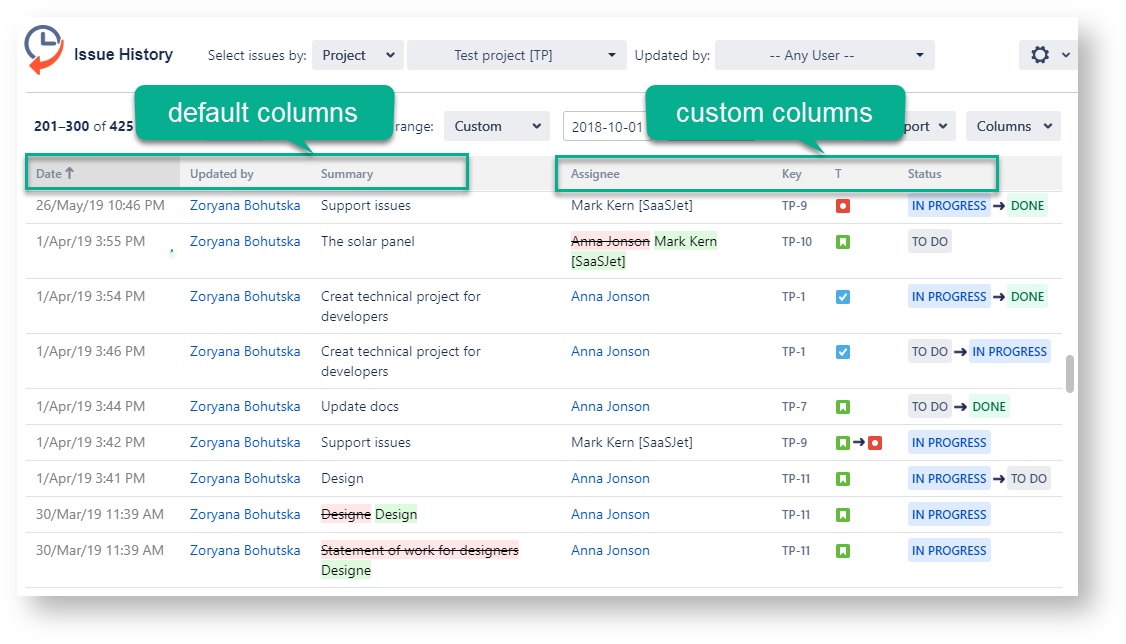
Report
After the previous settings, you will receive a report with the changes that have been made in the issues you need to see.
The main report grid displays the data according to the default and custom columns you selected before in the column manager.
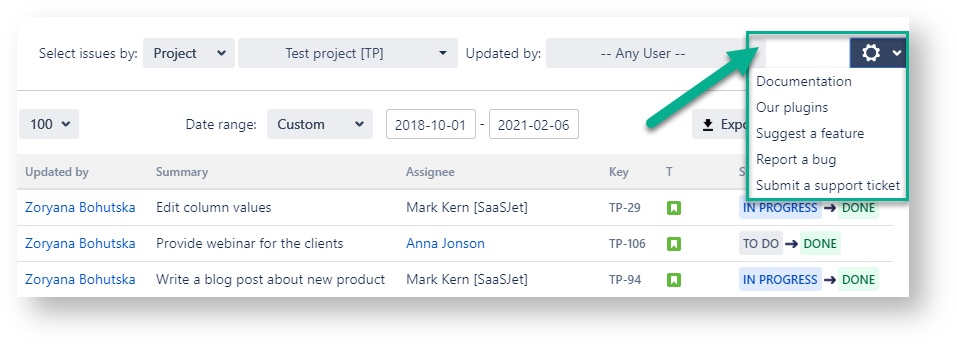
4. Additional information
At the drop-down box ‘Setting’ (available on the top right corner as a black gear) user can select ‘Documentation’, ‘Our plugin’, ‘Request a Feature’, ‘Report a Bug’ and‘Submit a support ticket’
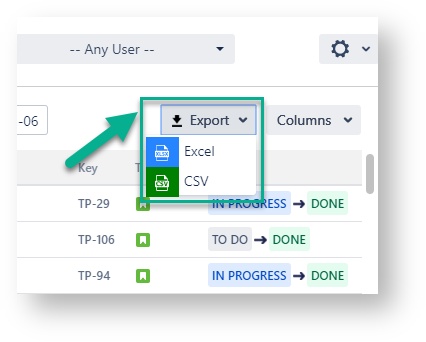
5. Data Export
You can export the Data from the grid as XLSX or CSV file which you can analyze using such tools like Excel or Google Spreadsheets.