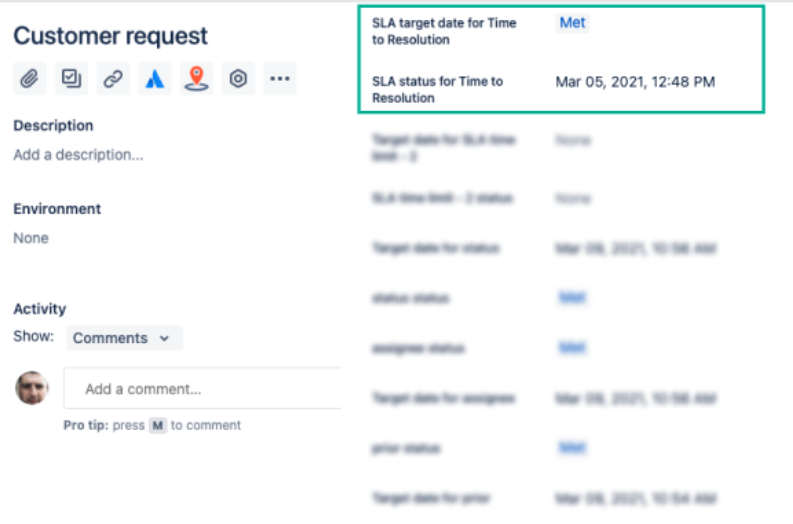
Before starting, you have to make sure, your SLA is synchronized with Custom fields.
Please check the Documentation here - Custom Fields in the SLA setting
Please check the Documentation here - Custom Fields in the SLA setting
1. If data is synchronized successfully, and you can see the SLA Status and Target date in the issue layout, start from the 2nd item.

2. Then, using the name of the SLA Configuration Goal, type it in the JQL fields to create the Filter.
Pay attention! Users without access to private project can see the sensitive information in JQL. |

So, by the following request, you will get the list of issues that are under the particular SLA and its Goal.
"SLA status for Time to Resolution" != EMPTY |
In this particular case field name = “SLA status for Time to Resolution”, and it’s getting SLA status once any changes in the issues. So, it’s always relevant and synchronized.
See, also - How to prepare the SLA Time and Report Gadget using native Jira Gadgets?
If you need help or want to ask questions, please contact us through SaaSJet Support or via email support@saasjet.atlassian.net |
If you haven’t used this add-on yet, then try it now! |