...
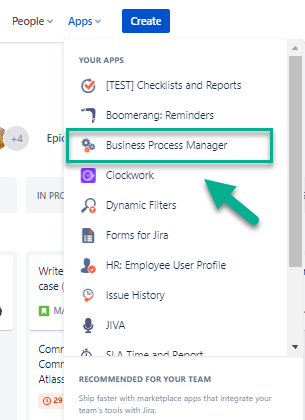
Open the Business Process Manager add-on by choosing it from the drop-down list.
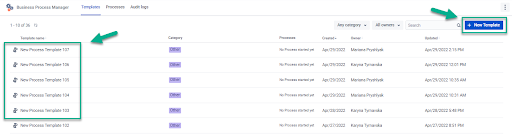
Choose an existed one or create your own Template. Click the “+New Template” button to create a new template. You can create as many templates as you need in your workflow. And all templates are displayed on the table like it’s shown on the screen below:

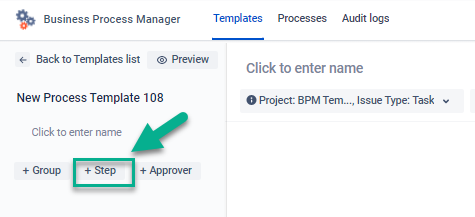
Click the “+Step” to add a step to your Template. You can add as many steps as you want to make your process as complicated as you need.
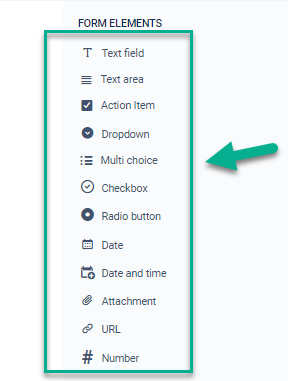
Fill the form with the necessary form elements (text area, text fields, checkbox, multichoice, date, URL, etc). Choose the ones you want from the various available to make your form more attractive and clear.
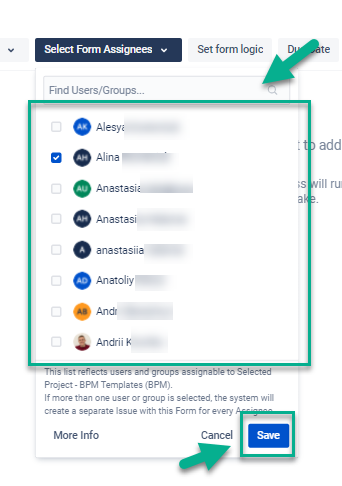
Choose an assignee responsible for completing a task (it can be one or a few assignees) and click on a “Save” button. A system creates separate tasks for each assignee if there are a few ones. The next step will start when the previous one is completed and approved.
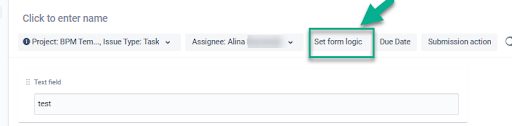
Click “Set logic form” to set the rules for multichoice fields and click a “Save” button.
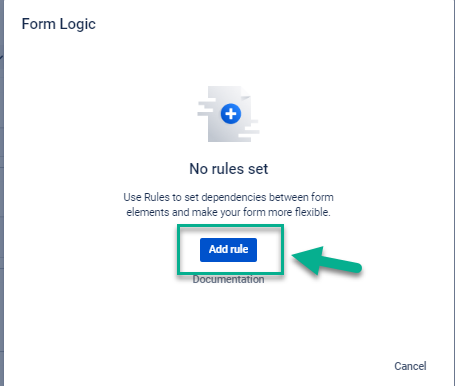
Click the “Add rule” button. It works based on the If/Then rule only for such elements: drop-down, multichoice, checkbox. So you can add different variants for your elements (a, b, c; 1, 2, 3; etc)
Set up your rule according to your needs.
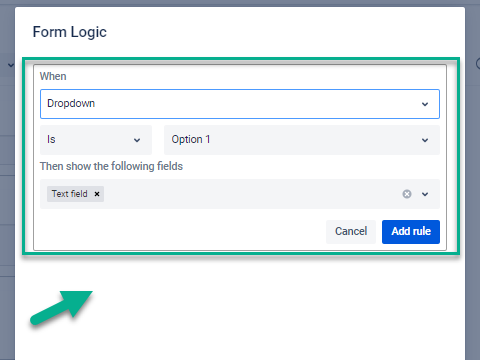
As a result, you’ll get such logic: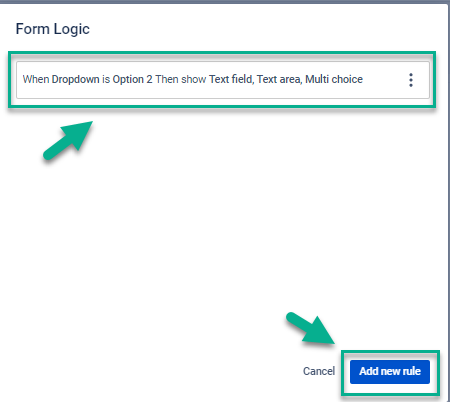
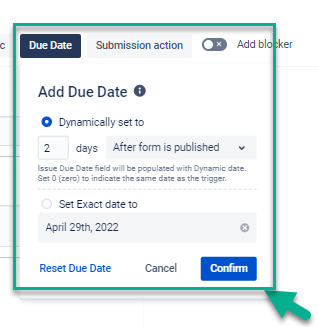
Add a due date to determine a deadline for a task and click a “Confirm” button.
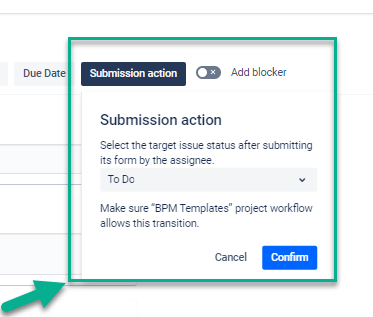
Choose a submission action if you need that task to change status automatically (when the submission action is completed, the task will move to a Done status).
Click the “Add a Blocker” button to stop the process run at a given point. The system will not start following Steps until the Blocked Step is completed (The form is submitted).

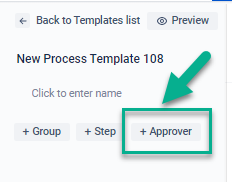
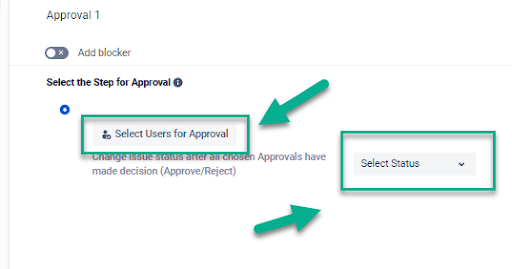
Click “+ Approver” to choose a person who will approve the completed actions. The Approver is a person that check the correctness of a previous step and approve it for further process.
Choose the Issue status that an issue will get after all chosen Approvals have made a decision. (Approve/Reject) Click “Select users for approval”.
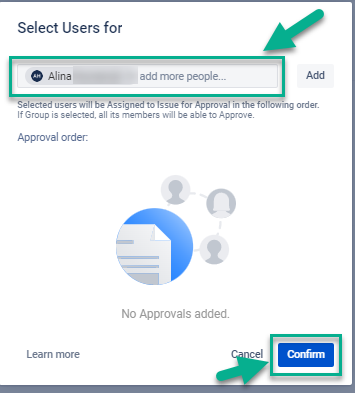
Select one user or a few ones who will be assigned to the issue. All of them will be responsible for the results.
...
So, you just spend time setting Templates for your project once and track activities. No more extra time spent on unnecessary duties. For such an aim, a Business Process Manager add-on was developed. You can find it at the Atlassian Marketplace. (link) Create, recur and enjoy how it works without any additional effort.
...
| Info |
|---|
If you need help or want to ask questions, please contact us at SaaSJet Support or via email support@saasjet.atlassian.net. |
Questions? Just email us to get an answer support@saasjet.com. |
| Tip |
|---|
If you haven’t used this add-on yet, then try it now!>>> |