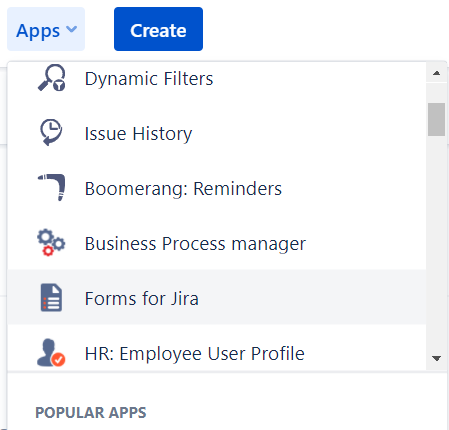
1. Open Smart Jira Forms add-on in the Apps list.
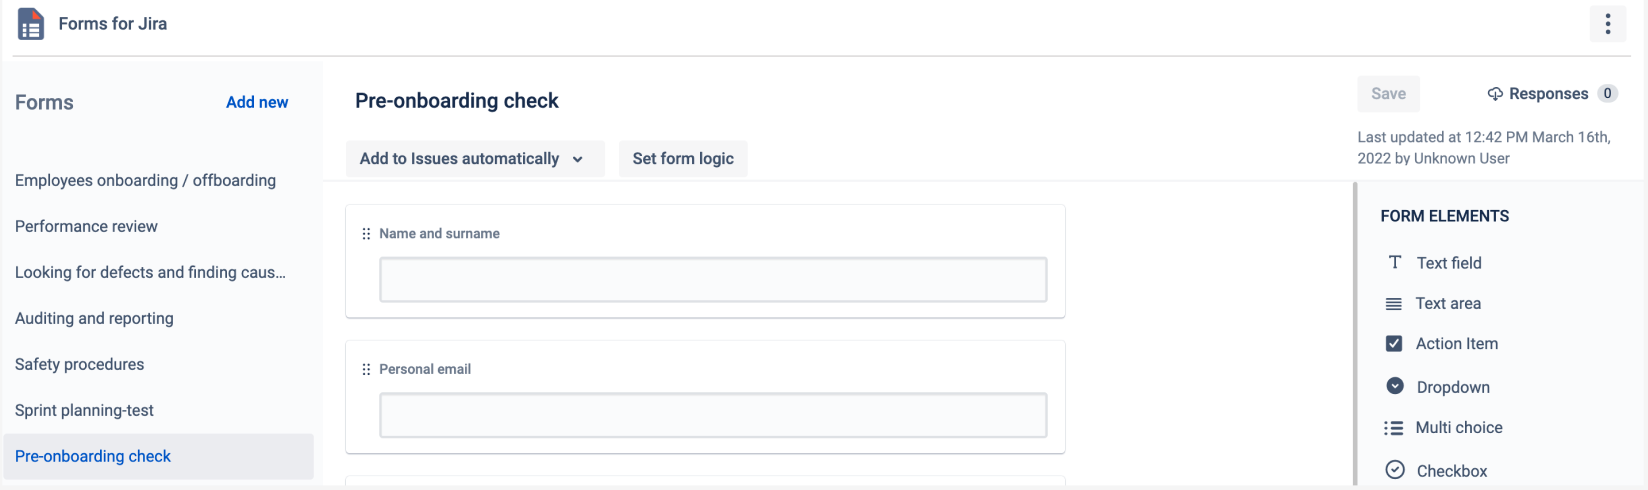
2. Create a new Form

3. Build custom forms
Use drag&drop form builder to add Text fields, Dropdowns, Checkboxes, Date and Time, etc., to your custom forms.
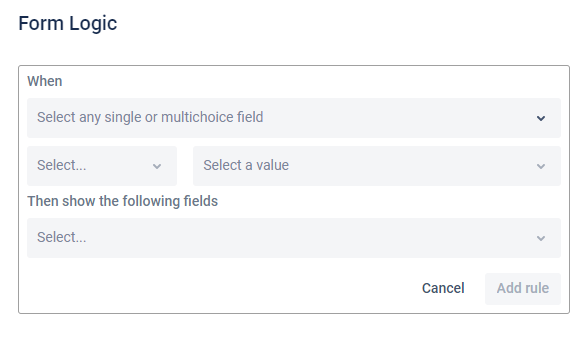
Also, apply the Field logic to build the forms with conditions.
4. Make it dynamic
Use When/Then logic to build smarter forms and build a more efficient workflow.
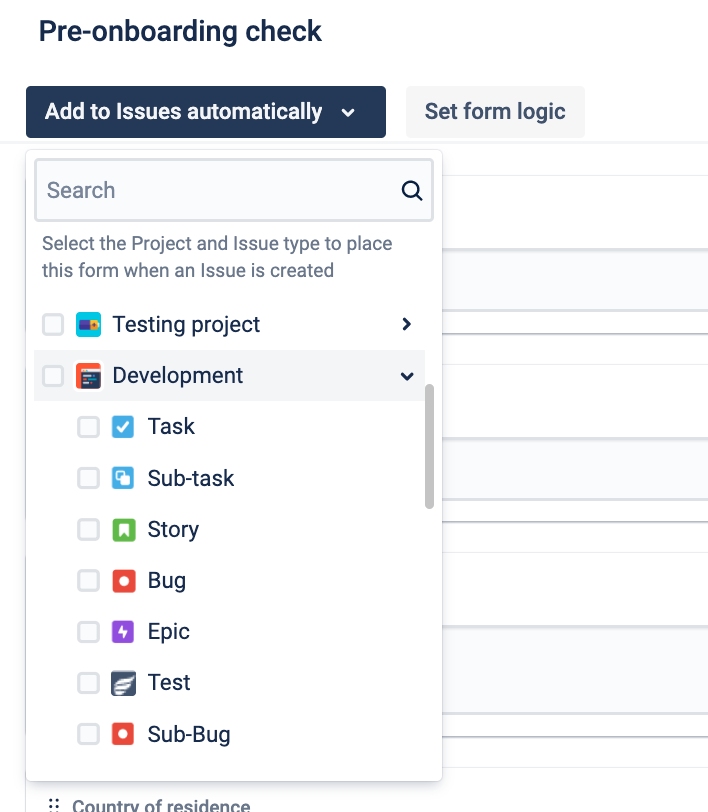
5. Set automation
You can set the automation to add the form to the specific project and issue type once the issue is created.
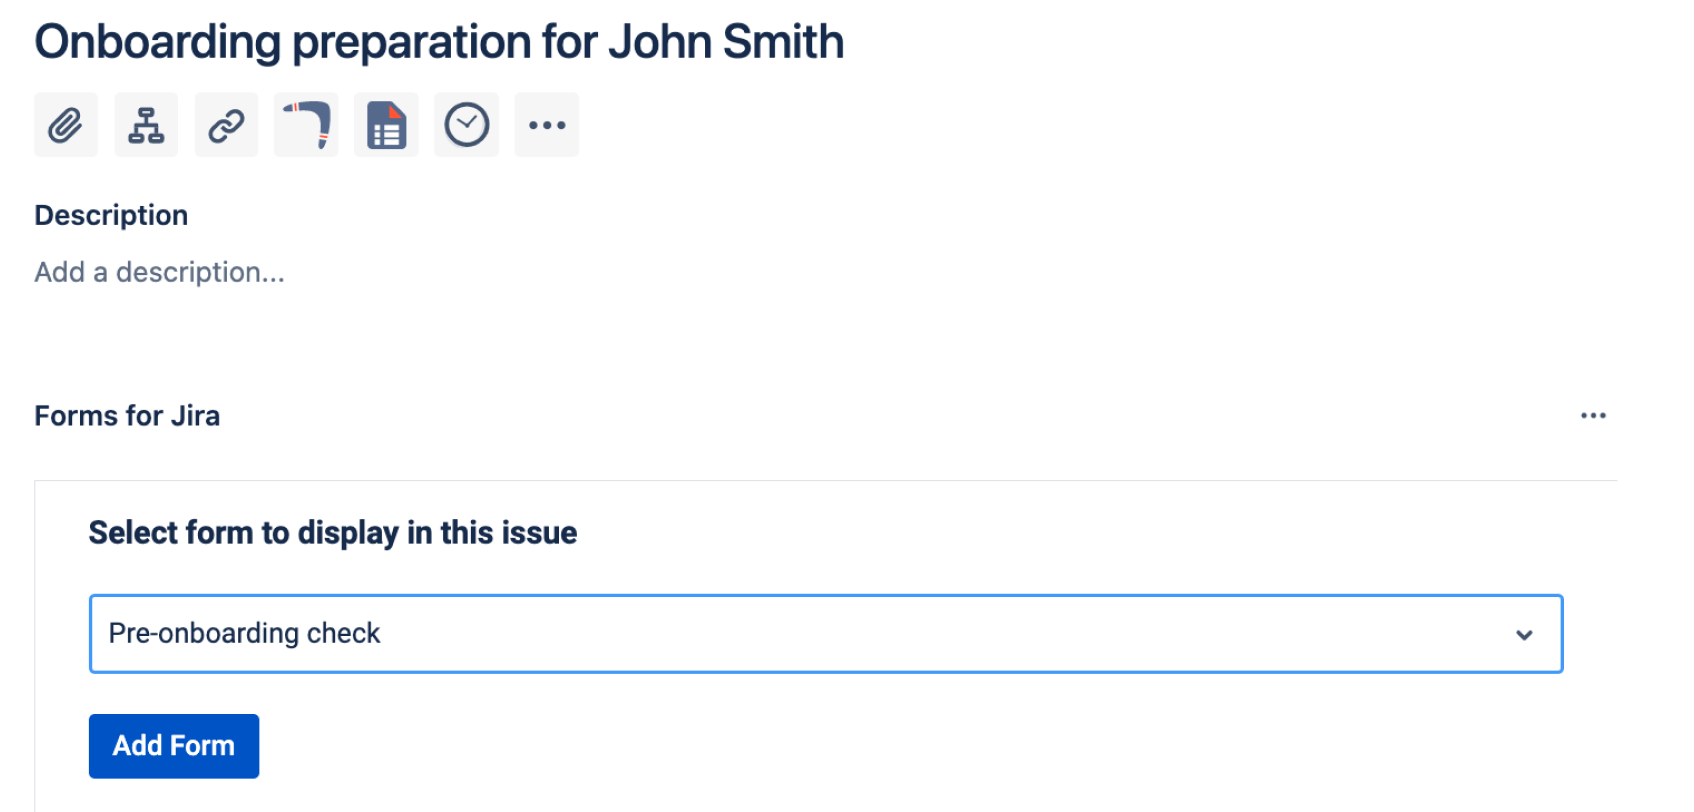
6. Add forms to any Jira issue
Click the add-on’s icon on the issue panel and select one or a few forms from the list you have created before.
Check the documentation on how to add Forms to the Service desk portal.
7. Fill in the forms with custom data according to the fields.

8. Get all Form responses.
Wherever the form has been added, you can always get all the responses in one place.
Go to the Add-on, and click Responses, so all the form responses will be exported in the Excel format.

Please note, that if the form has been added to the private project, the file will include the answers from this project.
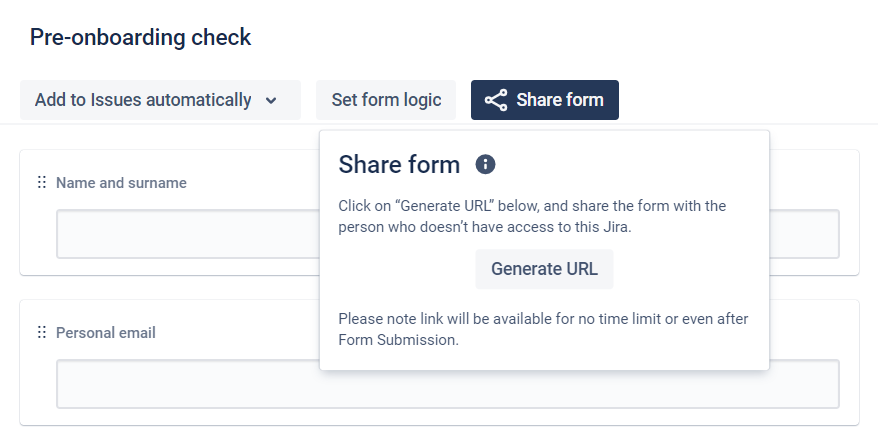
9. Share the form externally
Open the form inside the add-on and click the “Share form“ icon.
Then generate the unique URL and send it to the person you want to submit the information.
10. Check the updates in existing Forms

Once the form is submitted, the data will be saved in the issue.
Read more here.
If you need help or want to ask questions, please contact us through SaaSJet Support (Time of the First Response ≤ 4 hours) or via email support@saasjet.atlassian.net
Haven't used this add-on yet, then try it now!